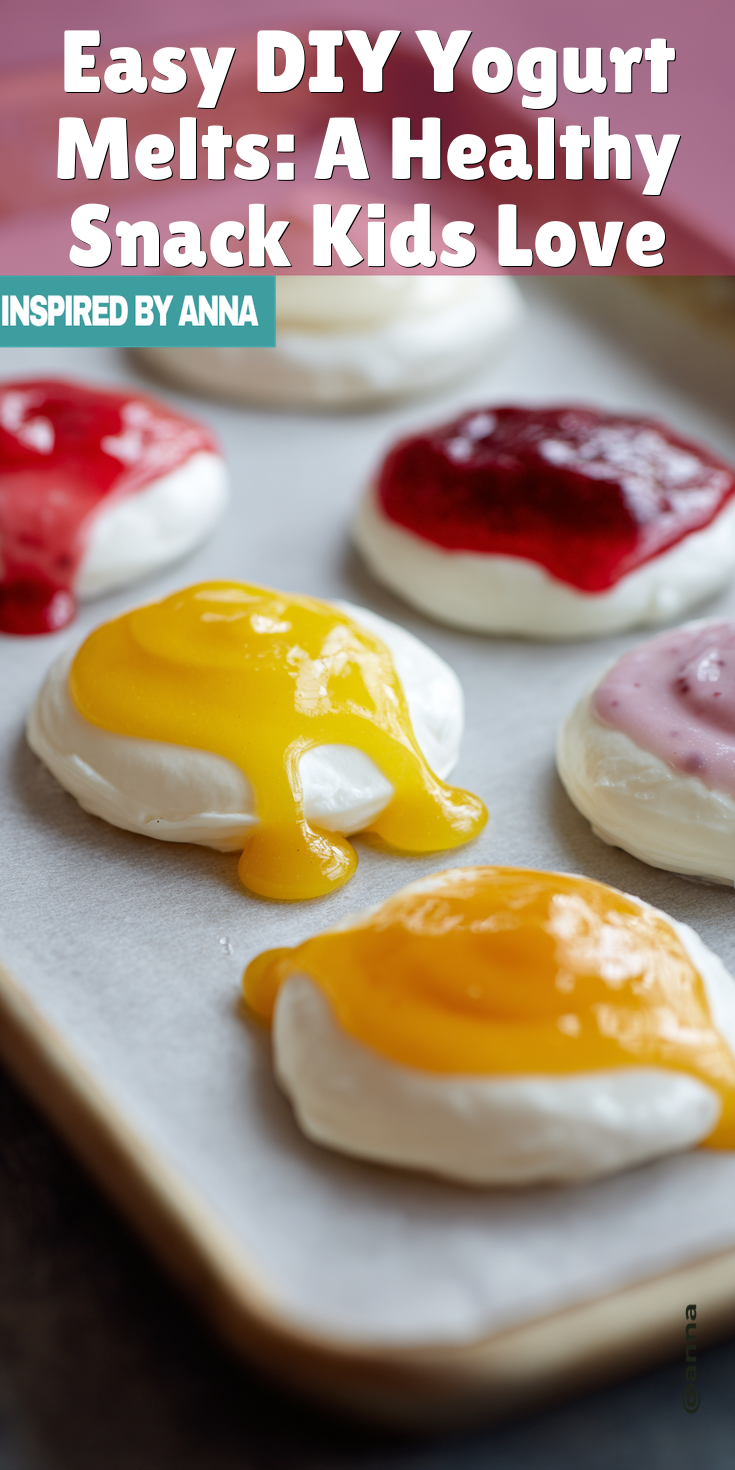
Give it up, my sweet friend! You cannot resist the magic of these DIY Yogurt Melts. Come to Mama!
I am literally obsessed. We’re talking about the easiest, most adorable, and secretly healthy snack you will ever make. They are little clouds of creamy, tangy joy that melt in your mouth. If you’re looking for more inspiration, you have to try this full recipe for Homemade Yogurt Melts.
If you need a win in the kitchen today, this is it. I’m talking about a two-ingredient wonder that will make you feel like a snack-making superhero. Get ready to fall in love!
Recipe Overview
- Cuisine: N/A (Healthy Snack)
- Category: Snack
- Prep Time: 10 minutes
- Cook Time: 2-3 hours (dehydrating/freezing)
- Total Time: 3 hours 10 minutes
- Servings: Makes about 60-80 melts
Do You Love This Recipe Too?
Okay, real talk. I started making these years ago for my niece. She was the pickiest toddler on the planet!
Store-bought yogurt melts were her kryptonite, but have you seen the price? And the sugar? I knew we could do better.
The first time I made these, her eyes got so wide. She shoved a whole handful in her mouth and did a happy dance. My heart absolutely melted faster than the yogurt. I’ve been hooked ever since.
Now, I make them for everyone. My friends, my partner, myself! They are the perfect little bite of cool, creamy happiness.
My Shopping List for This Recipe
I keep this list so simple. You probably have the main player in your fridge right now! The goal is pure, creamy flavor. It’s the same star ingredient you’d use for a quick and delicious yogurt toast.
Let’s grab the good stuff.
DIY Yogurt Melts Recipe
Let’s Get Your Ingredients Ready
Bringing This Recipe to Life (Step-by-Step)
Notes
Enjoy your homemade DIY Yogurt Melts Recipe!
Let’s Get Your Ingredients Ready
Gather these two superstars. That’s right, just two! The magic is in the method.
- 2 cups of thick, plain Greek yogurt (Full-fat is my secret for the creamiest texture!)
- 1-2 tablespoons of pure maple syrup, honey (for kids over 1), or a splash of vanilla extract (Totally optional, but nice for a hint of sweetness).
Bringing This Recipe to Life (Step-by-Step)
Here we go! This is the fun part. Put on some music and let’s make some magic.
- First, line a large baking sheet with parchment paper or a silicone baking mat. This is non-negotiable for easy peeling later!
- In a medium bowl, mix your Greek yogurt with your chosen sweetener or flavoring, if using. Give it a really good stir until it’s smooth and lovely.
- Now, scoop the yogurt into a piping bag or a sturdy plastic zip-top bag. Snip a very small corner off the bag. We’re going for pea-sized dots, not big blobs! Smaller dots freeze faster and have the perfect melt-in-your-mouth feel.
- Pipe little dots of the yogurt mixture onto your prepared baking sheet. Leave a tiny bit of space between them so they don’t run together.
- Carefully transfer the tray to your freezer. Freeze for at least 2-3 hours, or until the dots are completely solid and firm to the touch.
- Once they’re frozen solid, pop them off the parchment paper and into a freezer-safe bag or container. Store them right in the freezer until you’re ready to enjoy!
Fun Variations to Try Next Time
Once you master the basic melt, the flavor world is your oyster! Get creative.
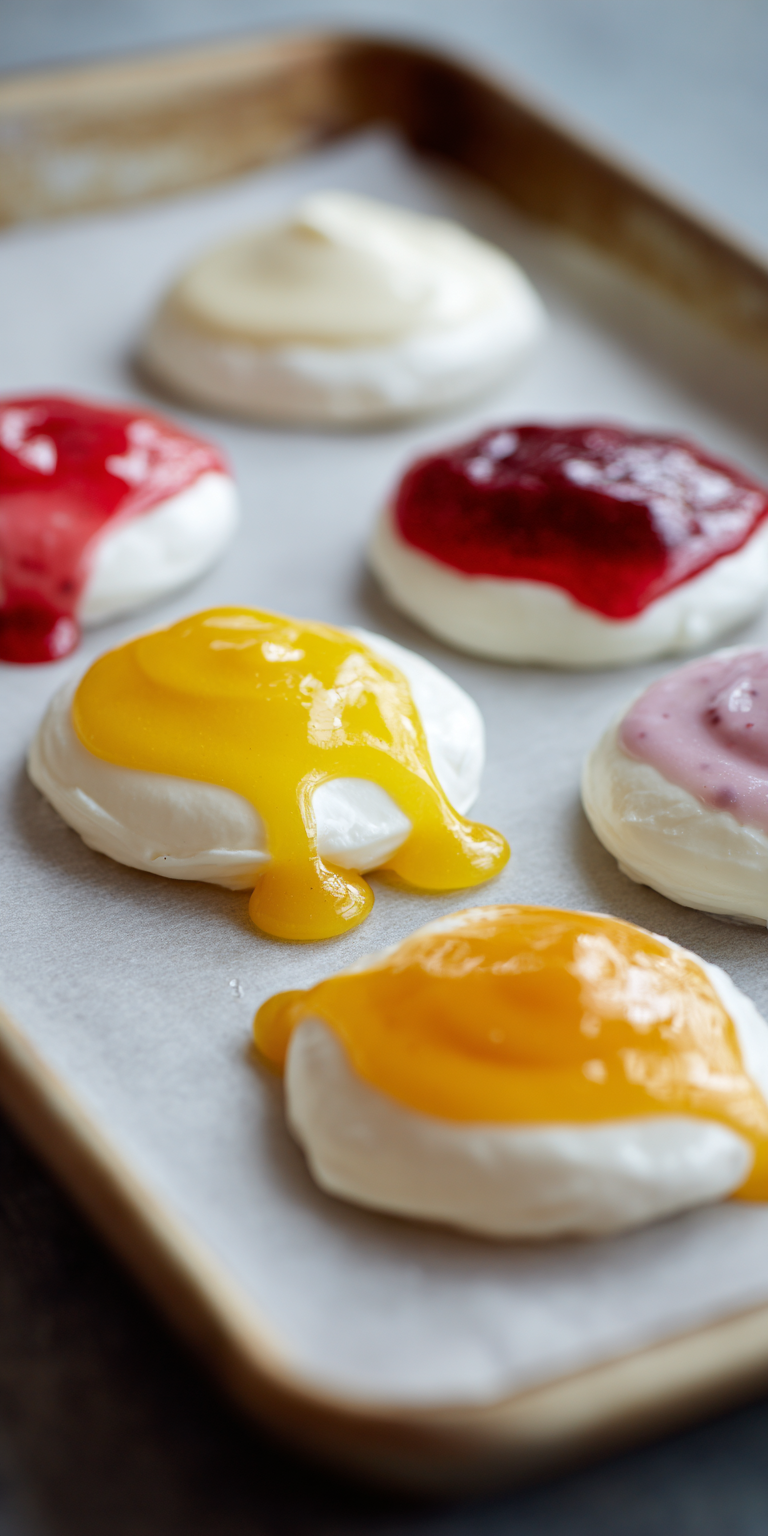
Mix a spoonful of fruit puree (like strawberry or mango) into the yogurt before piping. You’ll get pretty pastel colors and natural fruit sweetness! For a fruity frozen treat with a similar vibe, check out these easy strawberry yogurt bites.
Try using flavored yogurt like vanilla or coconut. Just check the sugar content if you’re watching it.
After piping, sprinkle a few mini chocolate chips, a dusting of cinnamon, or crushed freeze-dried fruit on top before freezing for extra fun.
How to Store, Freeze, and Reheat
Here’s the best part: these are a make-ahead dream! They live in the freezer.
Keep them in an airtight container or freezer bag for up to 2 months. They won’t last that long, I promise!
There’s no need to reheat. You eat them straight from the freezer. The joy is in that cool, creamy, melt-away texture.
Just grab a handful and go. They thaw quickly in little hands, so serve them in a bowl.
NUTRITION INFORMATION
- Serving Size: About 10 melts
- Calories: ~35
- Protein: 5g
- Fat: 0.5g
- Carbohydrates: 2g
- Sugar: 2g (will vary with add-ins)
*Note: This is an estimate for plain yogurt melts. Values change with added ingredients.
A Quick Q&A on This Recipe
Can I make these without a piping bag?
Absolutely! A plastic zip-top bag is my go-to hack. Just spoon the yogurt in, seal it, and snip a tiny corner. Easy cleanup, too!
Why did my melts turn out icy or chewy?
This usually means they weren’t frozen fast enough. Make sure your dots are small and your freezer is nice and cold. Spreading them on a cold baking sheet can also help!
Also, using full-fat yogurt makes a huge difference in texture. It stays creamier when frozen.
Are these good for baby-led weaning?
They can be! For beginners, make them a bit bigger so they’re easier to grasp. Always use plain, whole-milk yogurt and skip any added sweeteners. And of course, talk to your pediatrician first!
See? I told you this was the ultimate snack hack. It’s so simple, but it feels like a little act of love.
Whether you’re packing a school snack, need a quick treat, or just want something bright and healthy for yourself, these yogurt bites are the answer. They are pure joy in freezer form.
I am so excited for you to try this. Your freezer is about to become a treasure chest of yummy healthy snacks!
I can’t wait to hear how yours turn out! What flavors will you try? Please leave a comment and a rating below to let me know what you think!